

How to make Google Slides look good comes down to five habits: fix the theme once, pick two fonts, use Google’s built-in layouts, check color contrast, and crop images instead of stretching them. Most decks look rough not because the content is weak, but because every slide got styled by hand instead of at the deck level. The steps below use the real menu paths inside Google Slides, checked against Google’s own help pages, plus one faster route for anyone starting from a blank deck.
What Makes Google Slides Look Good (and What Usually Goes Wrong)
A deck that looks good tends to share four traits: one consistent theme, no more than two fonts, enough contrast to read from the back of a room, and images that fill space on purpose instead of floating in a white box. A deck that looks rough has the opposite problem: a different font size on every slide, text stretched to fill empty space, and images dropped in at whatever size they were uploaded.
None of this needs design training. It needs five or six decisions made once, at the theme level, instead of fixed slide by slide across 15 or 20 slides.
Fix the Theme First: Google Slides Design Tips That Apply to Every Slide
Open the Slide menu and click Edit theme. This opens the master view, a small set of template slides that every other slide in the file is built from. Anything changed here, a color, a placeholder font, a logo position, carries through to every slide using that layout instead of needing a fix on each one.
Inside Edit theme, click the title placeholder on the master slide and set its font and size using the regular toolbar, the same way text gets formatted anywhere else in Slides. Do the same for the body placeholder, then close Edit theme. Both choices now apply to every slide, present and future, that uses that layout.
To swap the color scheme or background for a different look entirely, use Slide > Change theme instead, which replaces the full visual style in one step, confirmed in Google’s own documentation on changing themes.
Editing the master instead of the slide is the single biggest difference between a deck that looks designed and one that looks patched together.
Two Fonts, Real Sizes: How to Make Google Slides Look Professional
Two fonts is the practical ceiling for one deck: one for headings, one for body text. Three or more fonts on the same slide is one of the fastest ways to make Google Slides look amateurish, even when each individual font is a good one.
Size matters as much as the typeface. Texas Tech University’s accessibility guide for presentation slides recommends a minimum of 18pt for body text, and 30pt for body text that will be projected and viewed from across a room, with titles set noticeably larger than either.
Pair a plain sans-serif, Arial, Helvetica, or a Google Font like Lato, for body text, with something slightly heavier for headings, Montserrat or Roboto Slab both work. Set both sizes once inside Edit theme, then skip the font dropdown for the rest of the project.
Use the Layouts Google Already Built for You
Every new slide starts from one of Google’s built-in layouts: Title, Section Header, Title and Body, Two Columns, Caption, and a handful of others. To apply one, select a slide, click Layout in the toolbar, or open the Slide menu and choose Apply layout, then pick from the list.
Starting from a blank layout and dragging in text boxes by eye is where most inconsistent spacing comes from. The built-in layouts already have placeholders sized and positioned correctly, so typing into them, instead of drawing new boxes, keeps every slide aligned to the same invisible grid without extra work.
Align, Distribute, and Stop Eyeballing It
Select two or more objects and open the Arrange menu. Align lines up the edges of selected objects (left, center, right, top, middle, bottom). Distribute spaces three or more objects evenly, which matters the moment a slide has three icons, three photos, or three numbered steps side by side.
Google Slides also shows a red alignment guide automatically while dragging an object near the center or edge of another one. Watching for that line, instead of guessing by eye, is usually enough to catch the one icon sitting a few pixels off from the other two.
Center on page, in the same Arrange menu, centers a single object or group on the slide both horizontally and vertically, useful on single-image or single-quote slides.
Build a Palette and Check the Contrast
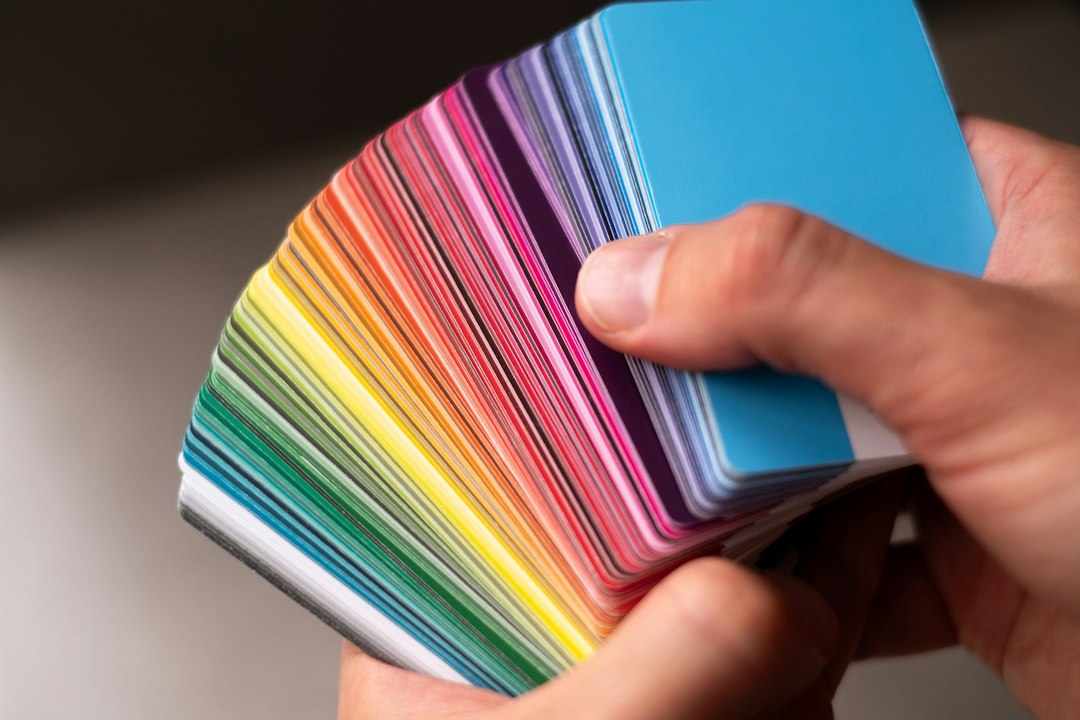
Pick two or three colors total: one dominant neutral (near-white or near-black), one accent for headings or highlights, and optionally one secondary accent used sparingly for charts or tags. Set them inside Slide > Edit theme > Colors so every slide pulls from the same palette instead of each slide getting its own guess.
Contrast is the part most decks skip. The same Texas Tech accessibility guide cites the WCAG 2.1 AA standard: a minimum 4.5:1 contrast ratio between text and background for normal text, and 3:1 for large text, 18pt and above, or 14pt and above bold. Google Slides has no built-in contrast checker, so run the two main colors through a tool such as SlideMaker’s contrast checker before locking in a palette.
Full-Bleed Images, Then Crop or Mask Them on Purpose
An image dropped onto a slide at its native size, floating with white space around it, is one of the clearest signs of an unfinished deck. Dragging the image’s corner handles out to the edges of the slide, so it fills the entire frame, reads as intentional instead of accidental.
To trim an image instead of stretching it, click the image, then click Crop, and drag the blue handles to the part that should stay visible. To fit an image into a circle, hexagon, or other shape, click the small arrow next to Crop and choose a shape; Google calls this masking an image, and it is a one-click way to turn a plain rectangular photo into something that looks deliberately designed.
Cut the Text: The Fastest Way to Make Google Slides Look Good
A slide with six bullet points and three sub-bullets is not a slide, it is a printed handout pretending to be one. Aesthetic Google Slides decks tend to carry one idea per slide, five to seven words per line, and no more than three to four lines of body text total.
Whatever does not fit at that length belongs in the speaker notes, not squeezed onto the slide in a smaller font. Shrinking the font to fit more text is the single most common reason a deck looks cluttered on screen and becomes unreadable from the back of a room.
Keep Spacing Consistent From Slide to Slide
Margins, the gap between a title and the content below it, and the padding around images should repeat exactly across the deck, not vary slide by slide. Setting these once inside Edit theme, rather than nudging objects by eye on each slide, is what makes a 15-slide deck look like one document instead of 15 separate ones stitched together.
Line spacing matters inside text blocks too. The same Texas Tech guide recommends 1.2 to 1.5 line spacing for paragraph text, tight enough to read as one block, loose enough not to feel cramped.
Use Transitions Sparingly, or Not at All
To add one, click a slide, open the Slide menu, and select Transition, then choose from the dropdown and adjust the speed with the slider. One consistent transition, Fade, applied the same way between every slide, reads as polish. A different transition on every slide, or anything that spins, bounces, or flies in from off-screen, reads as a template nobody edited.
The safest choice for most decks is no transition at all, or Fade applied uniformly throughout. Object animations, under Insert > Animation or View > Motion, carry the same risk and deserve the same restraint.
Check the Whole Deck in Presenter View Before You Present
Click the down arrow next to Slideshow, top right, choose Presenter view, then click Speaker notes (or press the “s” key once presenting). This shows the current slide, the next slide, speaker notes, and a timer, all without the audience seeing anything but the slide itself.
Running the full deck in Presenter view once, before the real presentation, catches what the editor hides: text that overflows a placeholder at full size, a transition that runs too slowly, an image that got cropped oddly after a last-minute resize.
The Common Look vs. the Fix
| Common look | The fix |
|---|---|
| Different font size on nearly every slide | Set heading and body sizes once inside Edit theme |
| Three or more fonts across the deck | Pick exactly two: one heading font, one body font |
| Images floating with white space around them | Drag images to fill the full frame, then crop or mask |
| Bullet lists with six or more lines per slide | One idea per slide, three to four lines, rest in speaker notes |
| A different transition on every slide | One consistent transition, or none at all |
| Light gray text on a white background | Check contrast against the 4.5:1 WCAG ratio first |
The Faster Route: Start From an AI-Designed Draft, Then Polish in Google Slides
Fixing all of the above by hand works, but it takes time most people do not have before a meeting. A faster starting point is generating a designed first draft with an AI presentation maker, then opening that draft inside Google Slides to finish the details above.
At SlideMaker.app, typing a topic, pasting notes or an outline, or uploading a PDF, DOCX, or TXT file is enough for the AI to plan an outline, choose slide types (bullet slides, comparisons, timelines, charts), write the content, and add images. Length options run from Concise (6 to 8 slides) to Balanced (8 to 10 slides) to In-Depth (13 to 15 slides). Creating a deck requires signing in with a free account first.
Once a draft exists, export it as a PPTX file. To bring it into Google Slides, upload the exported file to Google Drive, double-click it, and click Open with Google Slides at the top of the preview. The file converts into an editable Slides copy, a step documented directly in Google’s guide to switching from PowerPoint. A second option, useful for merging slides into a deck that already exists rather than opening a whole new file, is the File > Import slides command inside Google Slides itself.
From there, the same theme, font, layout, and contrast steps described above still apply. The AI draft removes the blank-page problem; the menu paths above are what turn that draft into something that looks intentional rather than generated. For a side-by-side look at where each tool is actually stronger, see SlideMaker vs. Google Slides, and for more on pairing the two, the walkthrough at SlideMaker’s Google Slides maker guide covers the handoff in more detail. A free first draft can be started at SlideMaker’s editor.
FAQ
What font size should Google Slides body text use?
18pt at a minimum, and 30pt if the deck will be projected and viewed from across a room, per Texas Tech University’s accessibility guide for presentation slides. Titles should sit noticeably larger than either.
Does Google Slides have a true slide master?
Yes, through Slide > Edit theme, which edits a small set of template slides that every other slide inherits from, functioning the same way a slide master does in other tools.
How many fonts should one Google Slides deck use?
Two: one for headings, one for body text. Set both once inside Edit theme rather than picking a font slide by slide.
Can a PowerPoint file be opened directly in Google Slides?
Yes. Upload the .pptx file to Google Drive, double-click it, and click Open with Google Slides at the top of the preview window; the file converts into an editable Slides copy, with the original PowerPoint file left untouched.
Is there a built-in contrast checker in Google Slides?
No. Colors have to be checked against a standard like the WCAG 4.5:1 ratio using an outside tool, such as SlideMaker’s contrast checker, before a palette gets finalized.